GitHub for Beginners: SSH Keys, Tokens, Merging, and Pull Requests

Authentication: SSH Keys vs Personal Access Tokens
When you work with GitHub from the command line, you need to prove your identity. Two methods exist: SSH keys and Personal Access Tokens (PATs). Both work. They solve slightly different problems.
SSH Keys: Long-Term, Passwordless Access
An SSH key is a pair of files: a private key (stays on your machine) and a public key (you upload to GitHub). When you push or pull code, git uses your private key to confirm your identity. GitHub verifies it matches the public key you registered.
Create an SSH key:
ssh-keygen -t ed25519 -C your.email@domain.com
When prompted, press Enter to accept the default location (~/.ssh/id_ed25519). Enter a passphrase you'll remember (the terminal won't show what you type).
Add it to your ssh-agent (so you don't re-enter the passphrase constantly):
ssh-add ~/.ssh/id_ed25519
Get your public key:
cat ~/.ssh/id_ed25519.pub
Copy the output. On GitHub: Settings → SSH and GPG keys → New SSH key → paste the key → Add SSH key.
Why SSH keys? They're long-lived, secure, and you don't have to type anything after setup. Perfect for frequent git operations.
Personal Access Tokens: Scoped, Short-Lived Access
A PAT is a special credential you create on GitHub. You control what it can do (read-only, write access) and when it expires. Use PATs for:
- Command-line tools that need authentication
- GitHub API integrations
- CI/CD pipelines
- Scripts and bots
Fine-grained tokens (recommended): Limit access to specific repositories and permissions.
- GitHub → Settings → Developer settings → Personal access tokens → Fine-grained tokens
- Generate new token
- Name and description (e.g., "cli-access" for CLI tools)
- Set expiration (minutes to years—short-lived is more secure)
- Choose which repositories it can access
- Select permissions (read-only or read-write)
- Generate token → Copy immediately and store securely (password manager)
⚠️ GitHub only shows the token once. If you lose it, regenerate a new one.
Classic tokens work similarly but grant broader access. Use fine-grained tokens instead when possible.
Merge Conflicts: When Git Needs Your Help
A merge conflict happens when two changes touch the same part of a file, and git can't automatically decide which version is correct. You have to tell it.
Resolve via GitHub UI (easiest for beginners):
- Open the pull request with a merge conflict
- GitHub shows a "Resolve conflicts" button
- Click it
- Edit the conflicted files directly in the browser
- Remove conflict markers (
<<<<<<<,=======,>>>>>>>) - Mark as resolved
- Commit merge
Merge vs Rebase: When to Use Each
Merge: Combines two branches by creating a new commit that ties both histories together. You see the full history of how work happened, including all the back-and-forth.
Use merge when:
- You're merging feature branches into main
- You want to preserve the complete history
- Working with other developers who shouldn't rewrite history
Rebase: Replays your branch's commits on top of another branch. Creates a clean, linear timeline. The history is rewritten.
Use rebase when:
- You're updating your feature branch with latest changes from main
- You want a clean, easy-to-follow commit history
- You're the only one working on the branch (never rebase shared branches)
Example: You started a feature branch last week. Main has new commits. Rebase your branch on top of the latest main:
git fetch origin
git rebase origin/main
Now your commits sit on top of main's latest changes, with a clean linear history.
Undo Your Last Commit
Already pushed to GitHub? Revert it (creates a new commit that undoes the changes):
- Open the commit on github.com
- Scroll to bottom → Revert button
- GitHub creates a undo commit
- Either merge directly or open a PR (safer if others use the branch)
Changes still local, not pushed?
# Remove commit, keep changes staged (safe)
git reset --soft HEAD~1

# Remove commit AND changes (⚠️ data loss!)
git reset --hard HEAD~1
Fork a Repository: Make Your Own Copy
Forking is essential for contributing to open source. It creates a complete copy under your account.
- Open repository on github.com
- Click Fork button (top right)
- Choose owner (your account)
- Optionally rename it
- Create fork
Now you have your own copy. Clone it locally:
git clone https://github.com/YOUR_USERNAME/forked-repo.git
Keep your fork in sync with the original (upstream) repository:
Via GitHub UI (easiest):
- Open your forked repo
- Click Sync fork → Update branch
Via command line:
# Set upstream repository (do this once)
git remote add upstream https://github.com/ORIGINAL_OWNER/repo.git

# Pull latest changes from upstream
git fetch upstream

# Merge upstream changes into your main branch
git merge upstream/main

# Push to your fork on GitHub
git push origin main
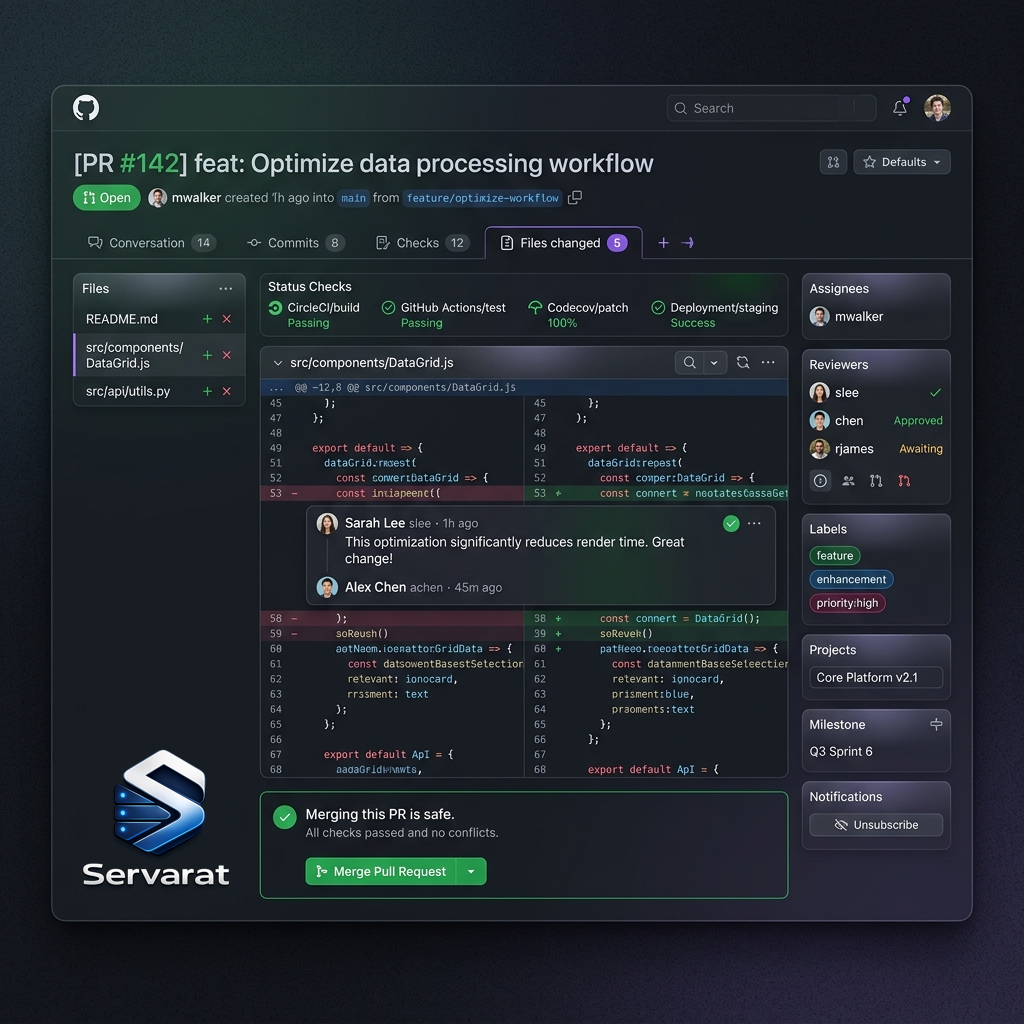
Review a Pull Request
Pull requests are where code review happens. Three practices make you a better reviewer:
1. Understand the goal first
Read the PR description. Look for linked issues, screenshots, or notes. Knowing why changes exist helps you know what you're evaluating.
2. Review in small sections
Open Files changed tab and move through changes one group at a time. Leave comments on specific lines. Ask questions. Offer suggestions. Use "nit" for minor points that aren't blocking.
3. Highlight what's going well
When code is clean, thoughtful, or teaches you something, say so. Positive feedback reinforces good patterns and supports teammates.
When ready: Submit review → Approve or Request changes.
Copilot code review (if enabled): Ask Copilot to review by selecting it as a reviewer. It analyzes the PR and leaves comments (never blocks merging).
Common Workflows
Push your changes
# Make changes, stage them
git add .

# Commit with message
git commit -m "descriptive message"

# Push to your branch
git push origin branch-name
Create a pull request
- Push your branch to GitHub
- GitHub shows a "Compare & pull request" button
- Fill in title and description
- Create pull request
- Respond to review feedback
- Once approved, merge
Switch branches
# See all branches
git branch -a

# Create and switch to new branch
git checkout -b new-feature

# Switch to existing branch
git checkout main
Key Takeaways
- SSH keys for daily git work (long-term, passwordless)
- PAT tokens for scripts, APIs, CI/CD (scoped, short-lived)
- Merge to preserve history, rebase for clean timeline
- Merge conflicts are resolved by choosing which version to keep
- Fork to make your own copy for contributing
- Pull requests are where code review and discussion happen
- Sync often if working with others to avoid large conflicts